Mjolnir Pendants—Yet Another Skill for My Mythbusting Résumé (New Year's Eve Part 3)
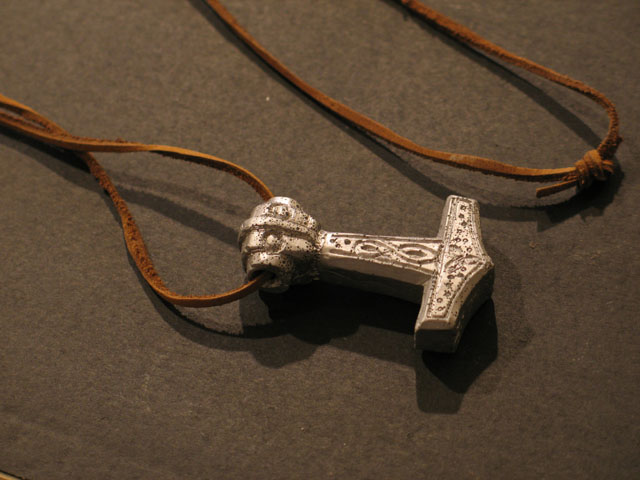
I made some Mjolnir (that would be the hammer of Thor for those who don't speak pagan-geek :) ) pendants for viking party costumes. It was also an opportunity to try my hand at sculpting and moldmaking, bringing me one step closer to living the life of a mythbuster—that is, a mythbuster without his own television show. I based the design on this one (found on google images); for the price, I probably should have just bought that one instead, but that's not really in the creative spirit of this whole New Year's Eve theme party thing.
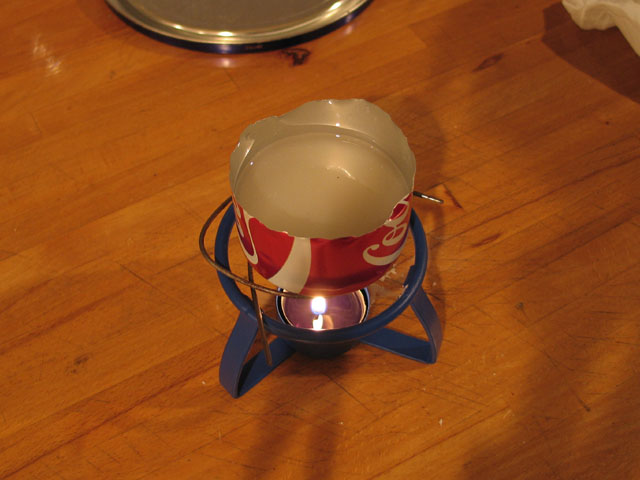
The first step: I melted down some old bits of candle wax and cast them into a puck shape, from which I carved the original pattern using one of my very favorite tools, the X-Acto knife.
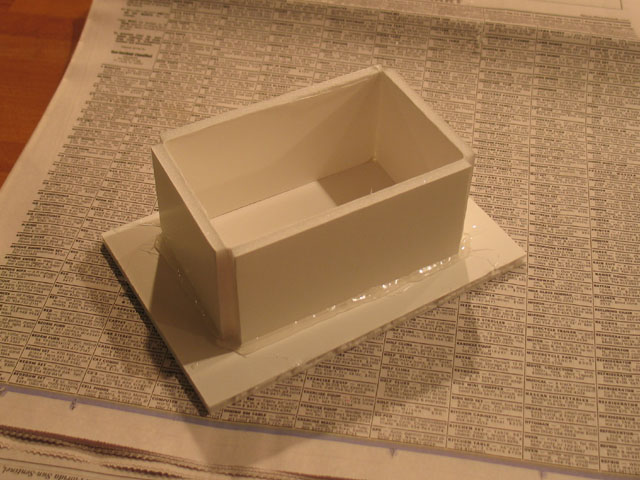
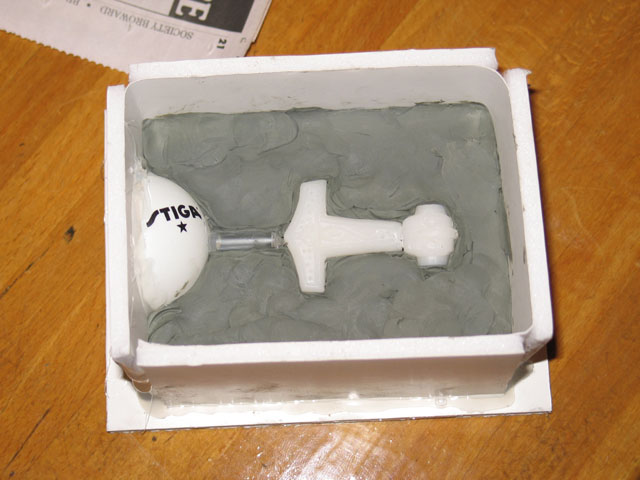
Next, I made a mold box out of foamboard and hot glue, and filled half of it with modeling clay, hoping to make a two-part mold by pouring RTV silicone into the top half, removing the clay, and then pouring the other half of the mold where the clay used to be. Note the funnel, made out of half of a ping-pong ball, and the drinking-straw sprue. On the right you see the result of the first pour, using two part silicone from Tap Plastics. The small plugs were made by pushing a pencil eraser into the clay before pouring.

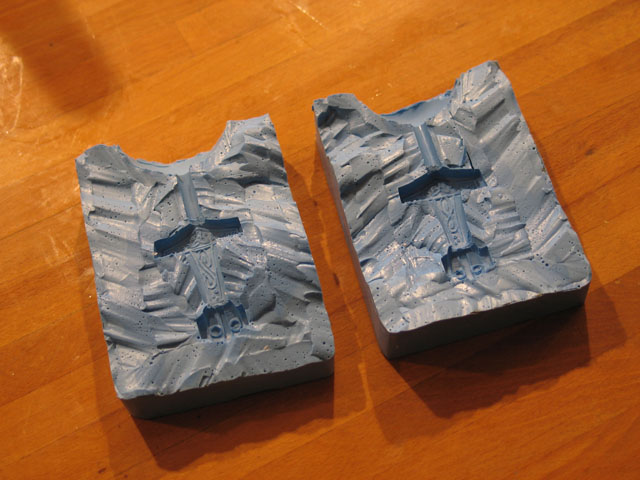
Unfortunately, that wasn't exactly my best-laid plan. I possibly poured the second half too soon (within 24 hours, I think), and the mold halves didn't separate as I intended. So I fell back on Adam Savage's article in Make magazine, in which he instructs us to pour the mold in one piece, and cut the parting plane to the pattern with an X-Acto knife. That worked pretty well, actually. However, I probably should have followed his other advice on pouring the part from the bottom, with vent channels out of the top.
The consequences of that can be seen in the next pictures, which show the mold assembled with a pour of white resin in it, and the result of that pour. Without a vent the resin channel fills up very easily, trapping air in the mold and resulting in an incomplete part.
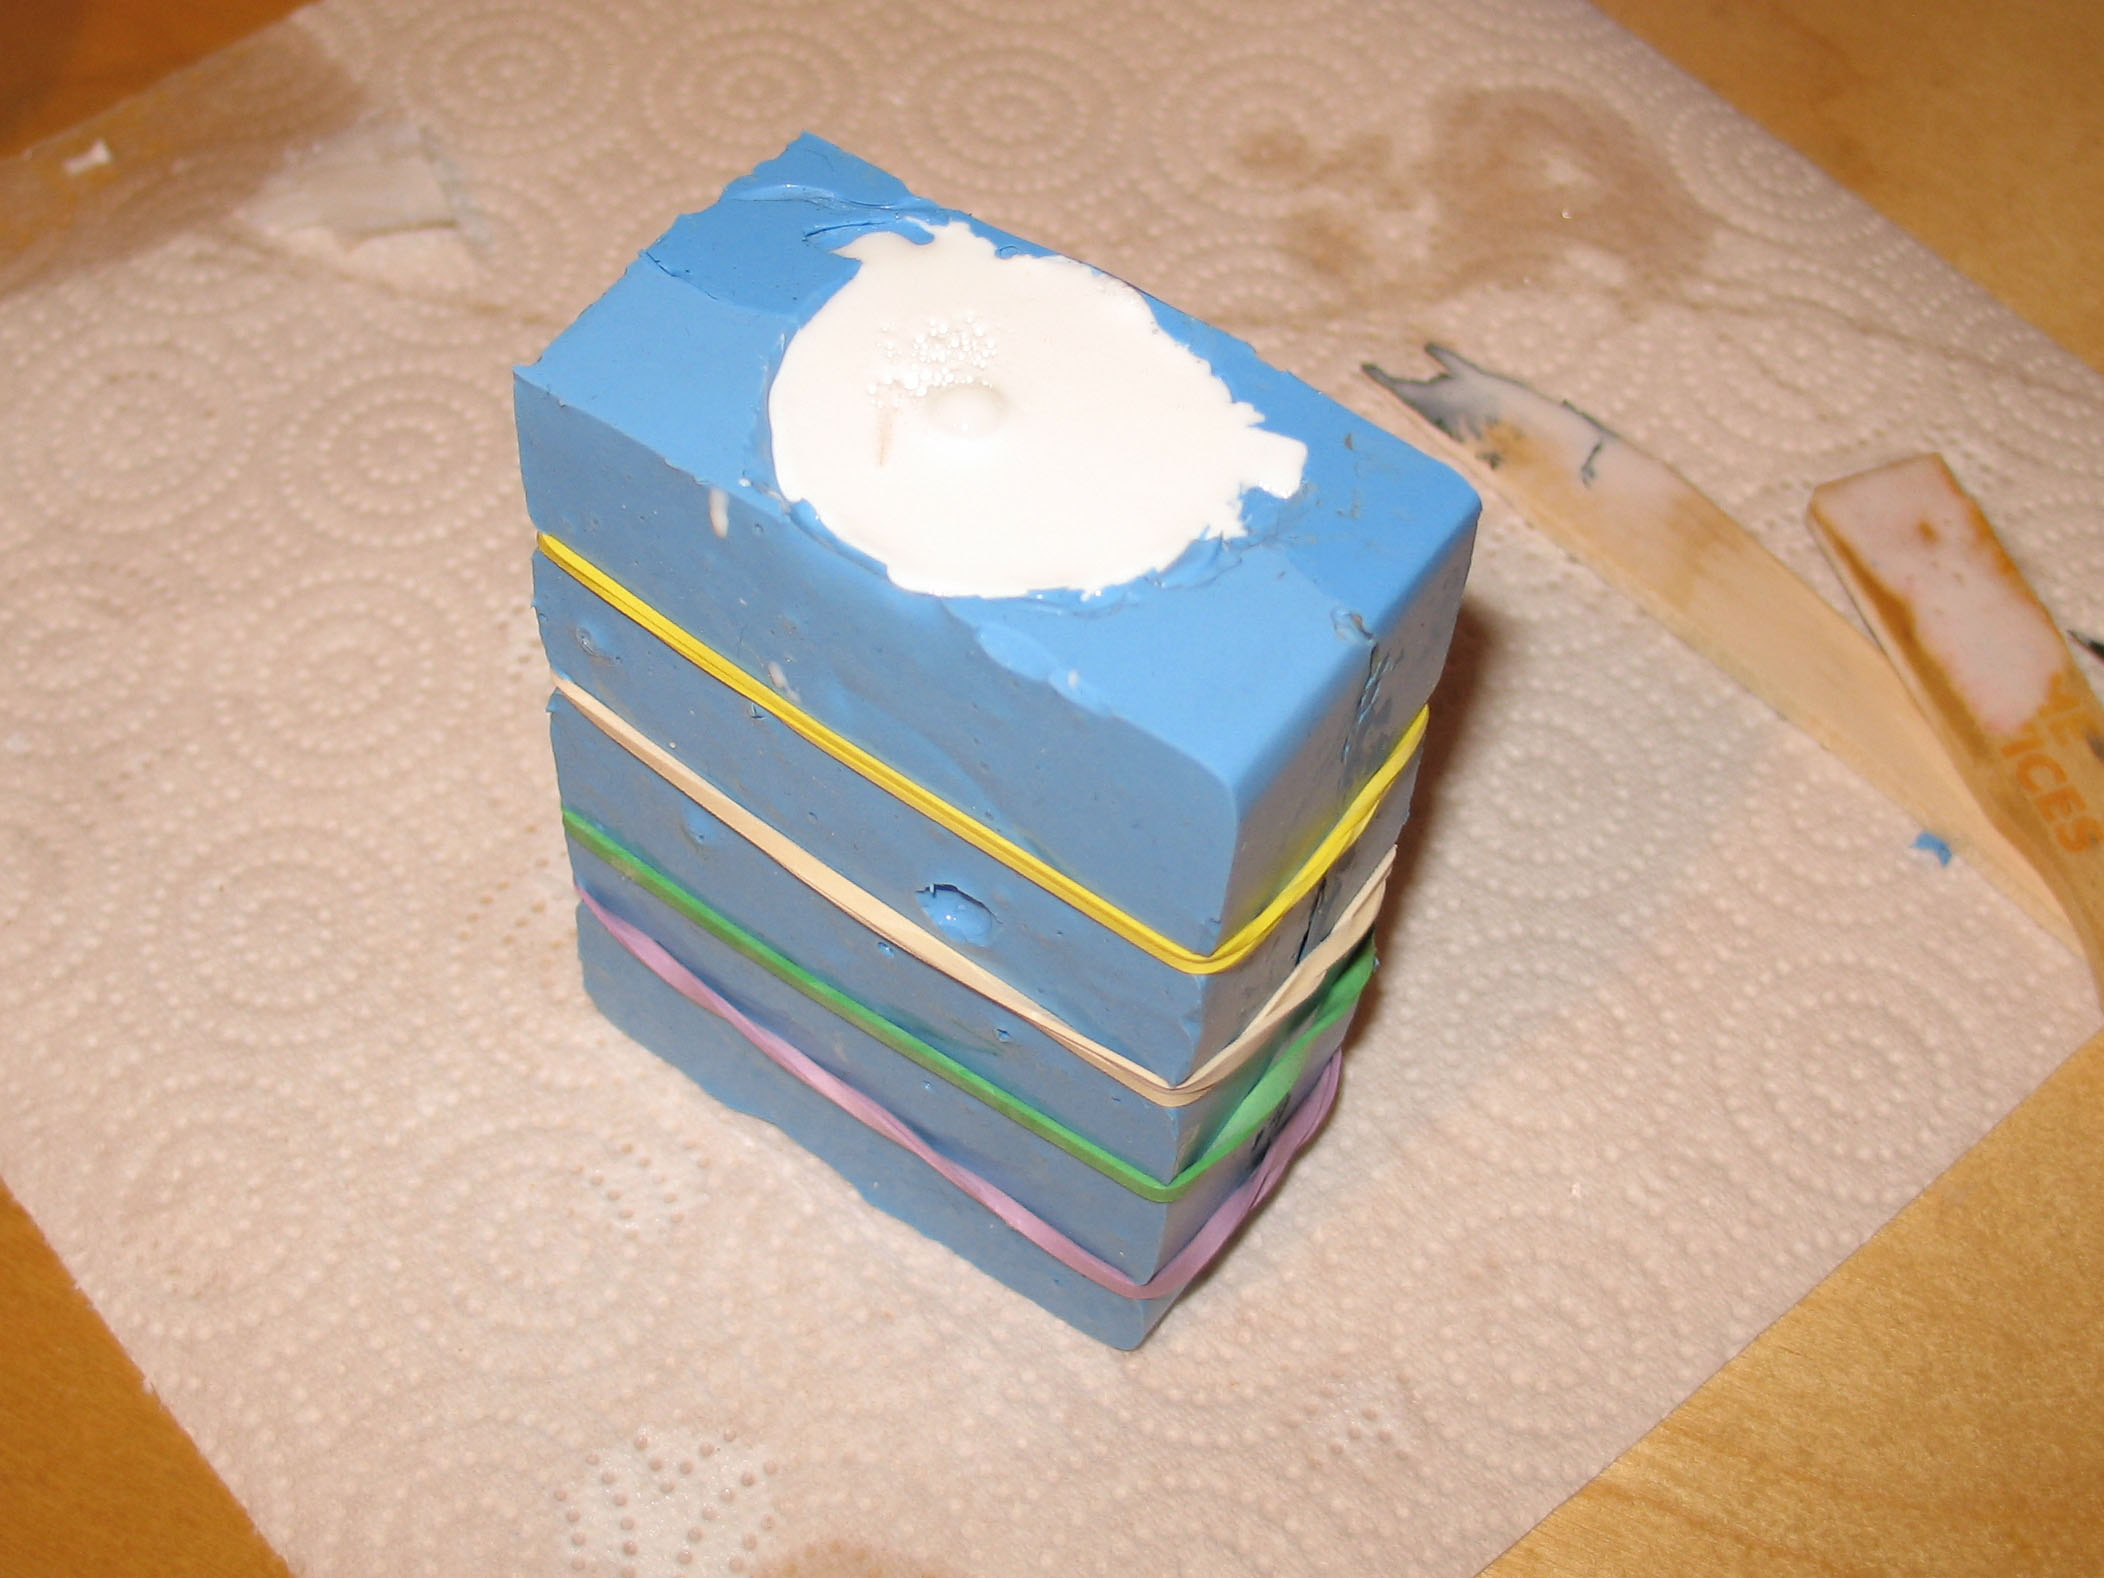

But that's not an insurmountable difficulty either! I got around it by pouring the resin very slowly in a thin stream, so that the cross-section of the channel doesn't ever fill with resin completely. That way, the air inside the mold has a means of escape when the resin starts to push it out of the bottom.
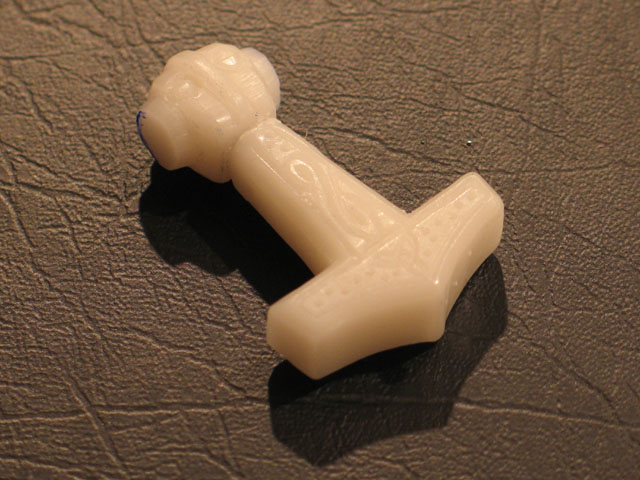
The resulting white resin part just needs to be removed from the sprue and cleaned up a bit, then drilled through the "ears" for the chain or thong or whatever you intend to hang it on, and finally painted silver (I think I used some kind of "aluminum" engine enamel I had lying around—not bad for spray paint!). I originally wanted to pour these in "cold-cast" pewter resin, which is metallic powder in a resin matrix, so that they'd weigh more and look better, but I ran out of time and couldn't find any of the raw material for this. Google "cold-cast resin" and all you get is a million figurines and such made out of the stuff, but not the stuff itself. Well, it certainly looks good enough for a costume party anyway!