DIY Paracord Bootlaces
Six years ago I walked into an Army-Navy surplus store and bought a pair of Hi-Tec hiking boots for something like 30 dollars. They're sturdy and very comfortable, have given me good service in all sorts of places and conditions, and are likely to keep doing so for years to come. The laces, however, were beginning to show their age and experience; the anglets had come off and the inner core of the laces had retreated into the outer sheath. I had an opportunity, therefore, to replace them with a much stronger and more useful type of bootlace: mil-spec 550 parachute cord.
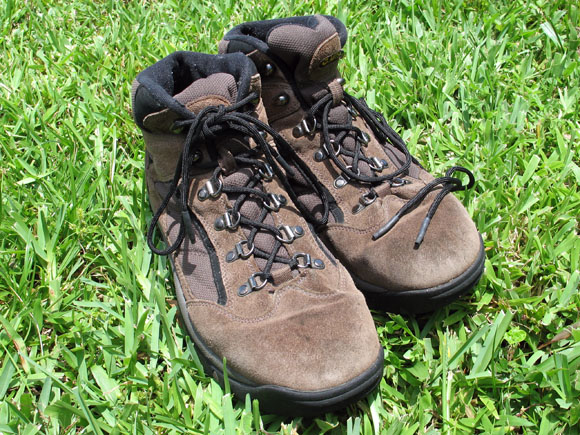
Black never goes out of style
This fits into the trend of survival experts and EDC enthusiasts carrying miles of paracord on their persons at all times, usually by tightly weaving it into something like a watch band or key chain. I'm impressed by their techniques but I'm far from being a serious student of wilderness survival—I only sniff around the edges of that community—but I enjoy hiking now and again and I'm very much a fan of preparedness and capability in all aspects of life.
The only slightly difficult part of making these is handling the ends; paracord is a “kernmantle”-type rope featuring seven inner yarns (consituting the “kern” and providing most of the strength) surrounded by a “mantle” that keeps it all together. Cutting it separates the yarns from the mantle, which tend to unravel or pull out of the sheath when handled. The usual way of fixing this is to melt the newly-cut end in a candle flame, fusing the yarns to the sheath and leaving a blob of melted plastic on the end of the cord.
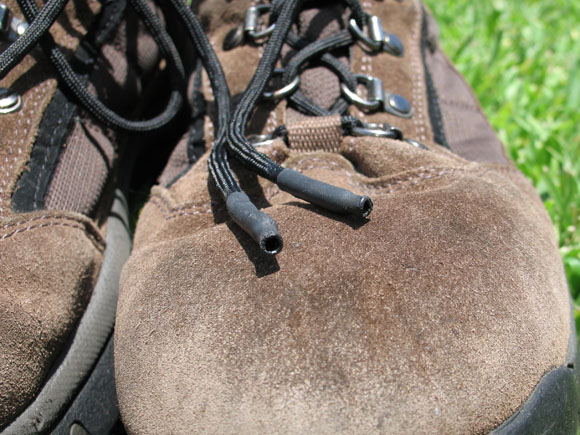
Heat-shrink tubing makes a fine anglet
I have a somewhat neater way of handling the ends: heat-shrink tubing. Simply cut three two-inch long segments of heat-shrink in a slightly larger diameter than the cord itself (as usual, try to use the smallest diameter you can). Using your previous laces as a guide, measure out a length of paracord twice as long as one lace, then position the tubing so that one segment is at each end and one segment is exactly in the middle. Shrink all three segments using a heat gun or other source of heat. Once these have cooled a bit, cut one inch off of both ends using sharp scissors (discard the remaining bits), and cut the middle segment right through its center. Now you should have two paracord laces with one-inch heat-shrink anglets at both ends.
This method gives the cords relatively rigid and smaller-diameter ends making lacing them into your boots easier. After cutting the anglets to length I directed a very hot stream of air from the heat gun into the open ends to melt the inner yarns, thinking it would fuse them securely to the end of the cord; this seemed to work but I can't confirm that it's entirely necessary.
“But Eiki”, I hear you saying, “if you use up your bootlaces in the wilderness you won't be able to keep your boots on!” That's true as far as it goes, but you have to tie your boots with something, so it may as well be a really useful something. Having the option of sacrificing your boots can't hurt, after all, even if the scenarios in which you'd make that choice aren't very likely. Consider also:
- Stringing a bow-drill for fire-starting is a classic survival application of shoelaces; just relace your boots when you're done.
- You might use your laces to tie up a shelter or something you need overnight, when you don't plan on traveling—this is a bit risky if you need to abandon camp in a hurry though!
- Perhaps you found some other, less generally-useful material to tie your boots with?
- Someone in your party might have been injured, unable to walk, in which case you'd most likely have an extra set of laces and can put that paracord to good use.
Finally, consider that you're the one that dies when the plane crashes in the Amazon. It could be that two short lengths of really nice cord are all you can contribute to the survival of your friends.
But that's better than nothing, isn't it?
Mart says: